MikroTik RouterOS on Lenovo M920q
You can have the greatest computers in the world, with insane amounts of CPU, RAM, and storage. But without proper networking, or if your network stack is a bottleneck, none of it will matter. Who cares if your NVMe can transfer data at lightning speed if your network is slow? Who cares if your API is written in binary and can process 17 trillion requests in negative time if your network adds four seconds of latency? Simply put, without top-notch networking, everything else will feel like a third-rate setup. That’s why I decided to step up my game and build this awesome machine as my dedicated router, the brain of the entire operation.
As I mentioned in the Hardware Overview section, you don't have to use the same hardware I did. If you have a different router running MikroTik RouterOS, you can skip this section. However, if you're looking for an enterprise-grade router for your home network at a much lower cost than buying hardware from MikroTik or other vendors, this section is for you.
Many homelab setups I’ve seen on YouTube underestimate the importance of proper networking. Regardless of CPU, RAM, or storage, devices must communicate efficiently. Clients connect to the router, which means it must handle many firewall rules, NAT, VPN, etc.
There are four things you need for this setup:
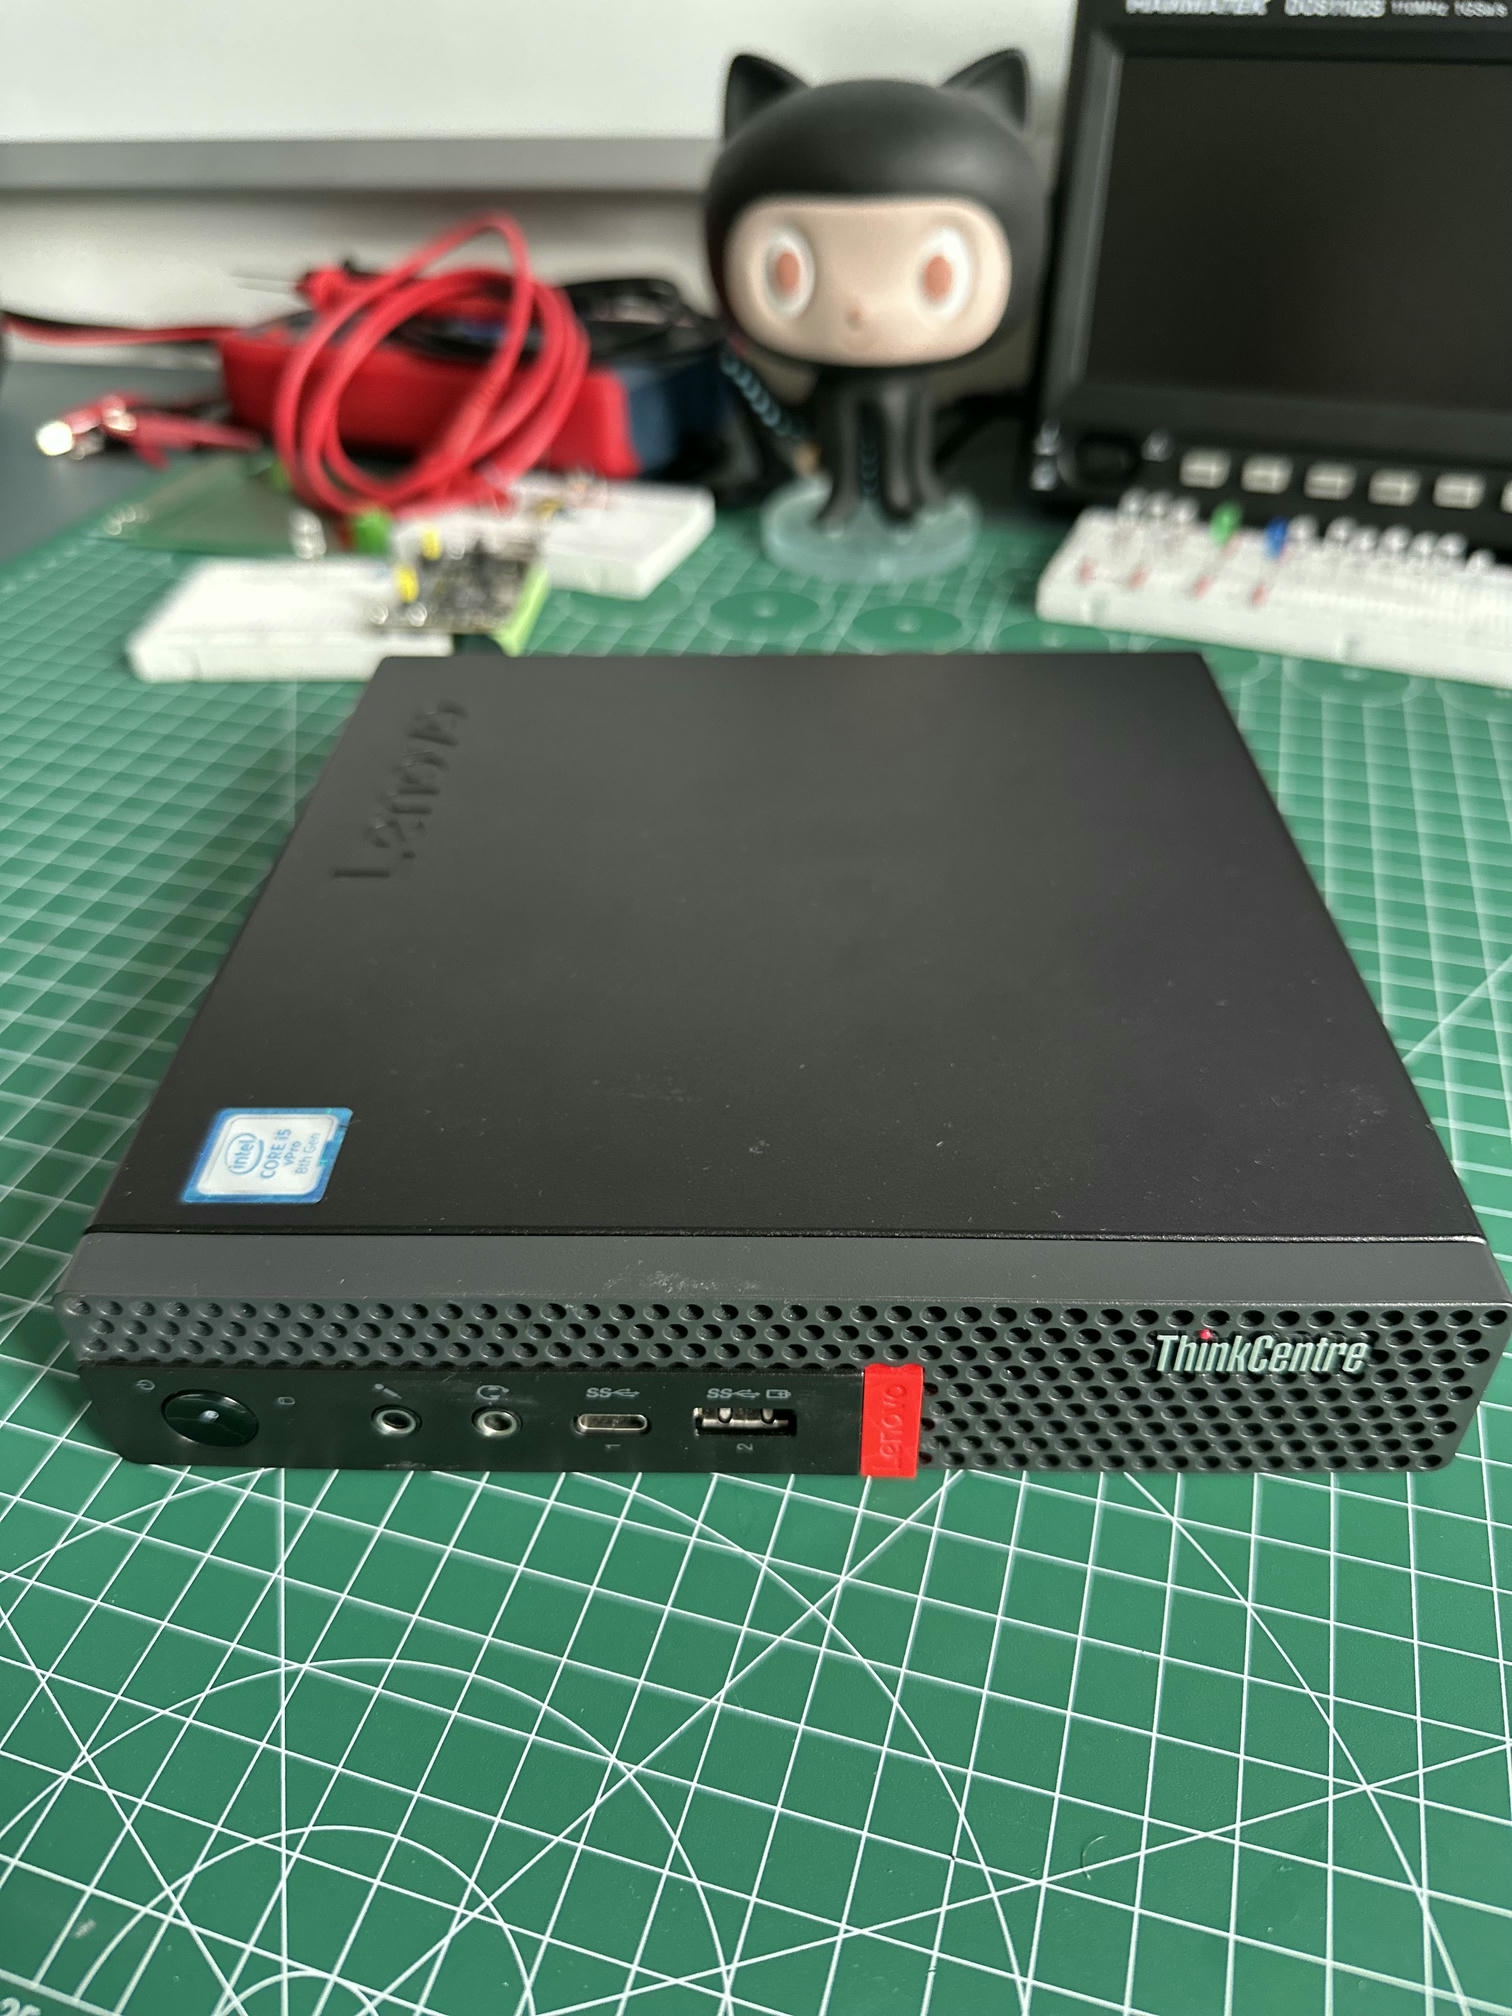
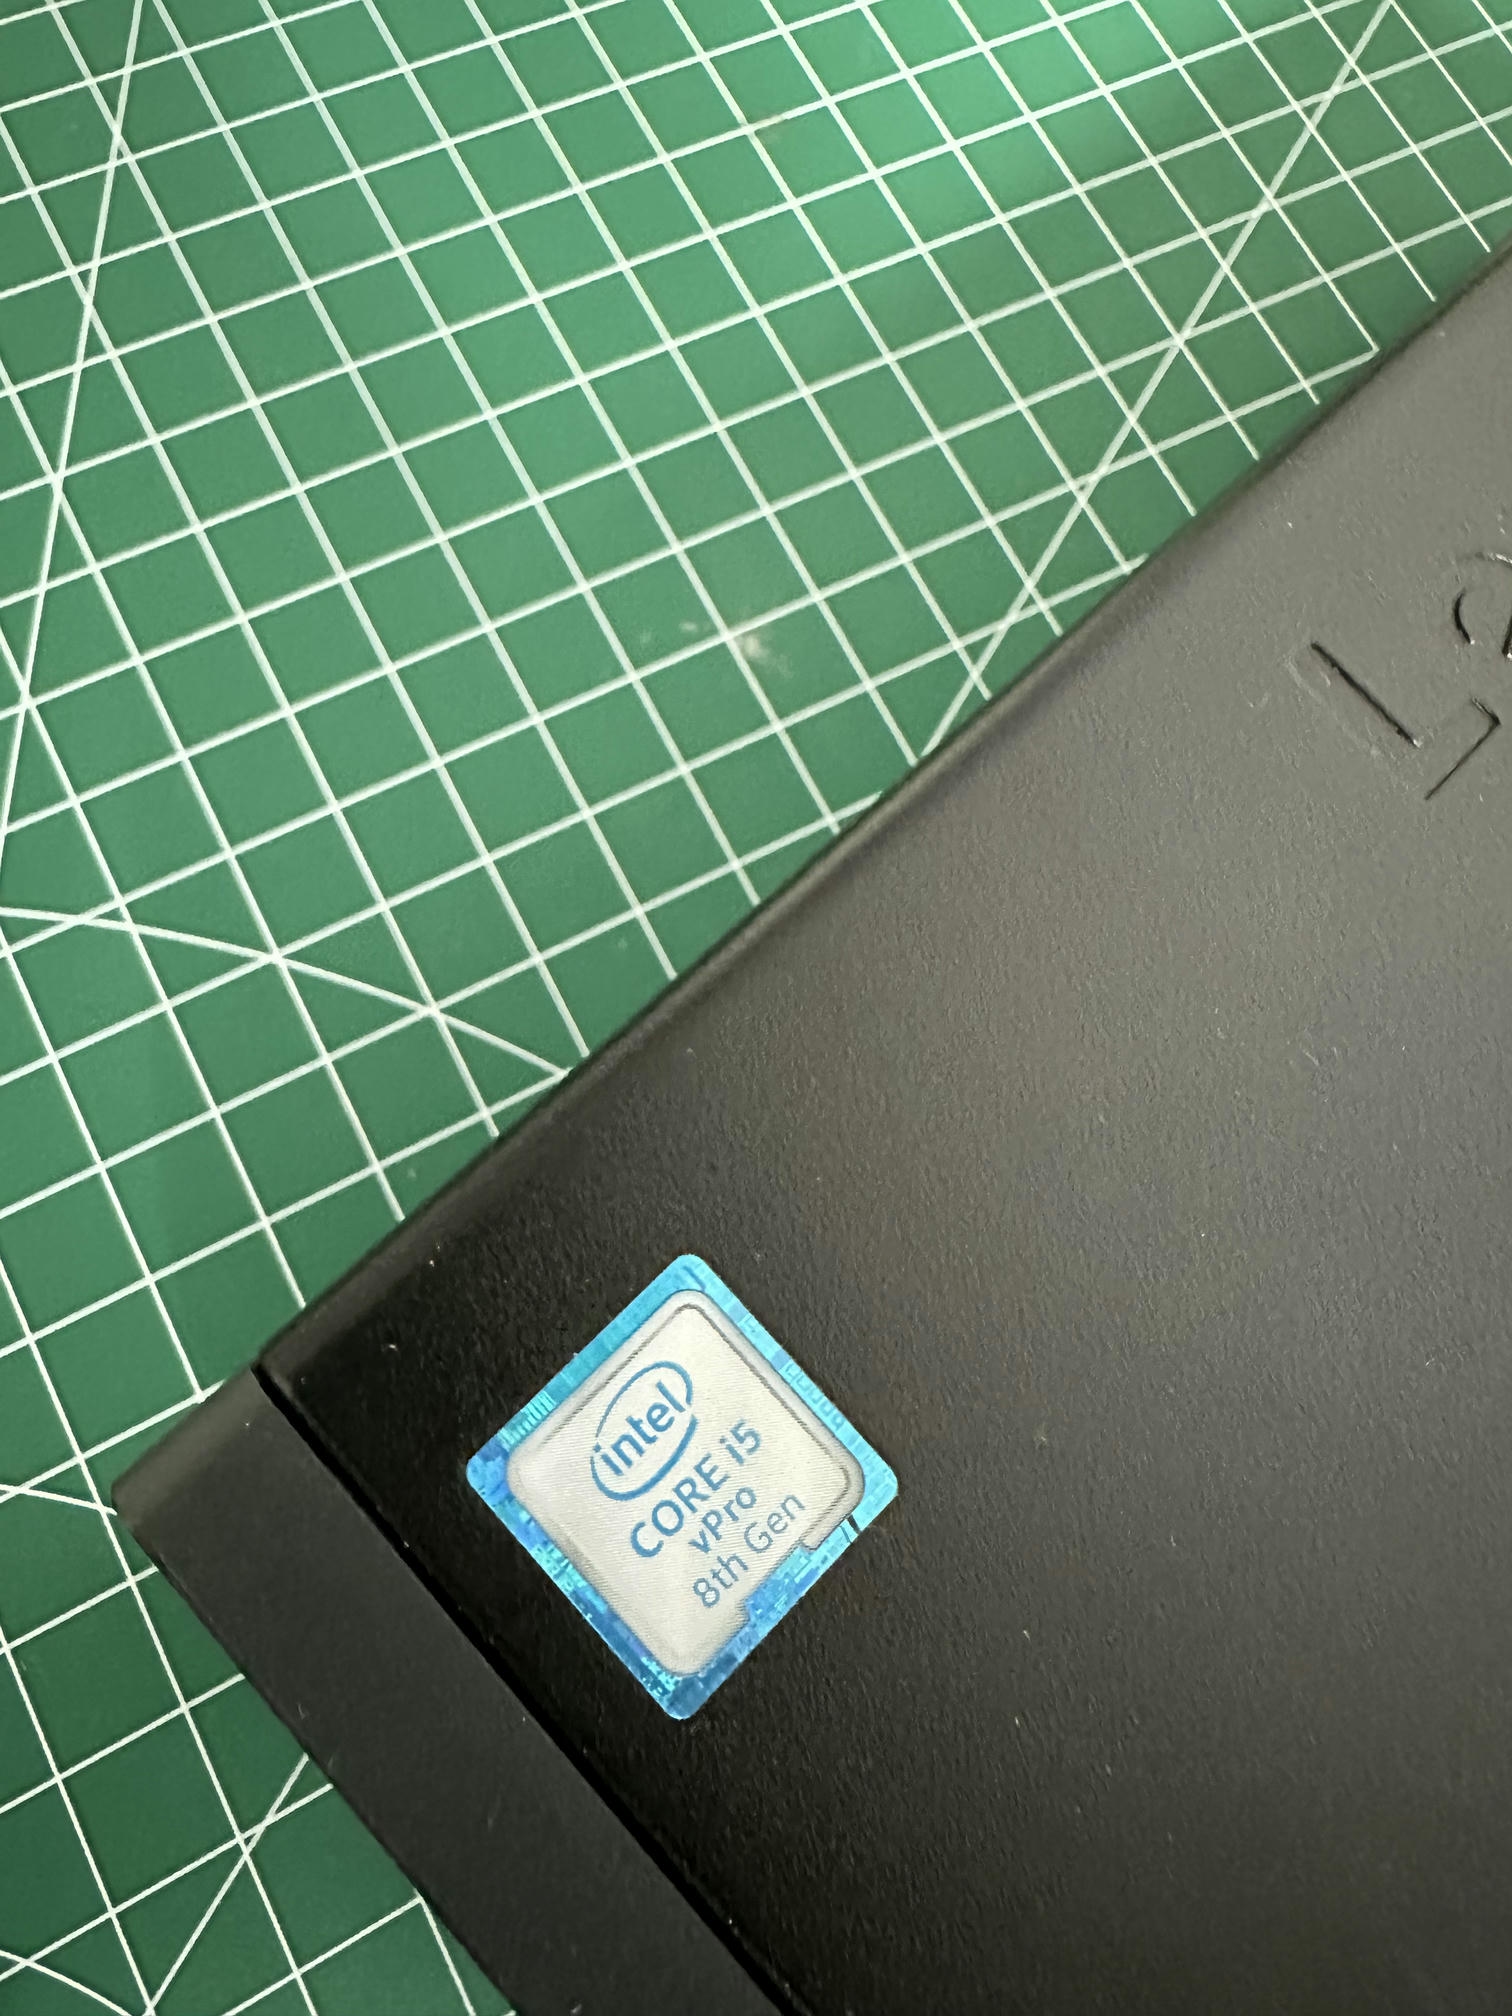
- Lenovo M920q Mini PC
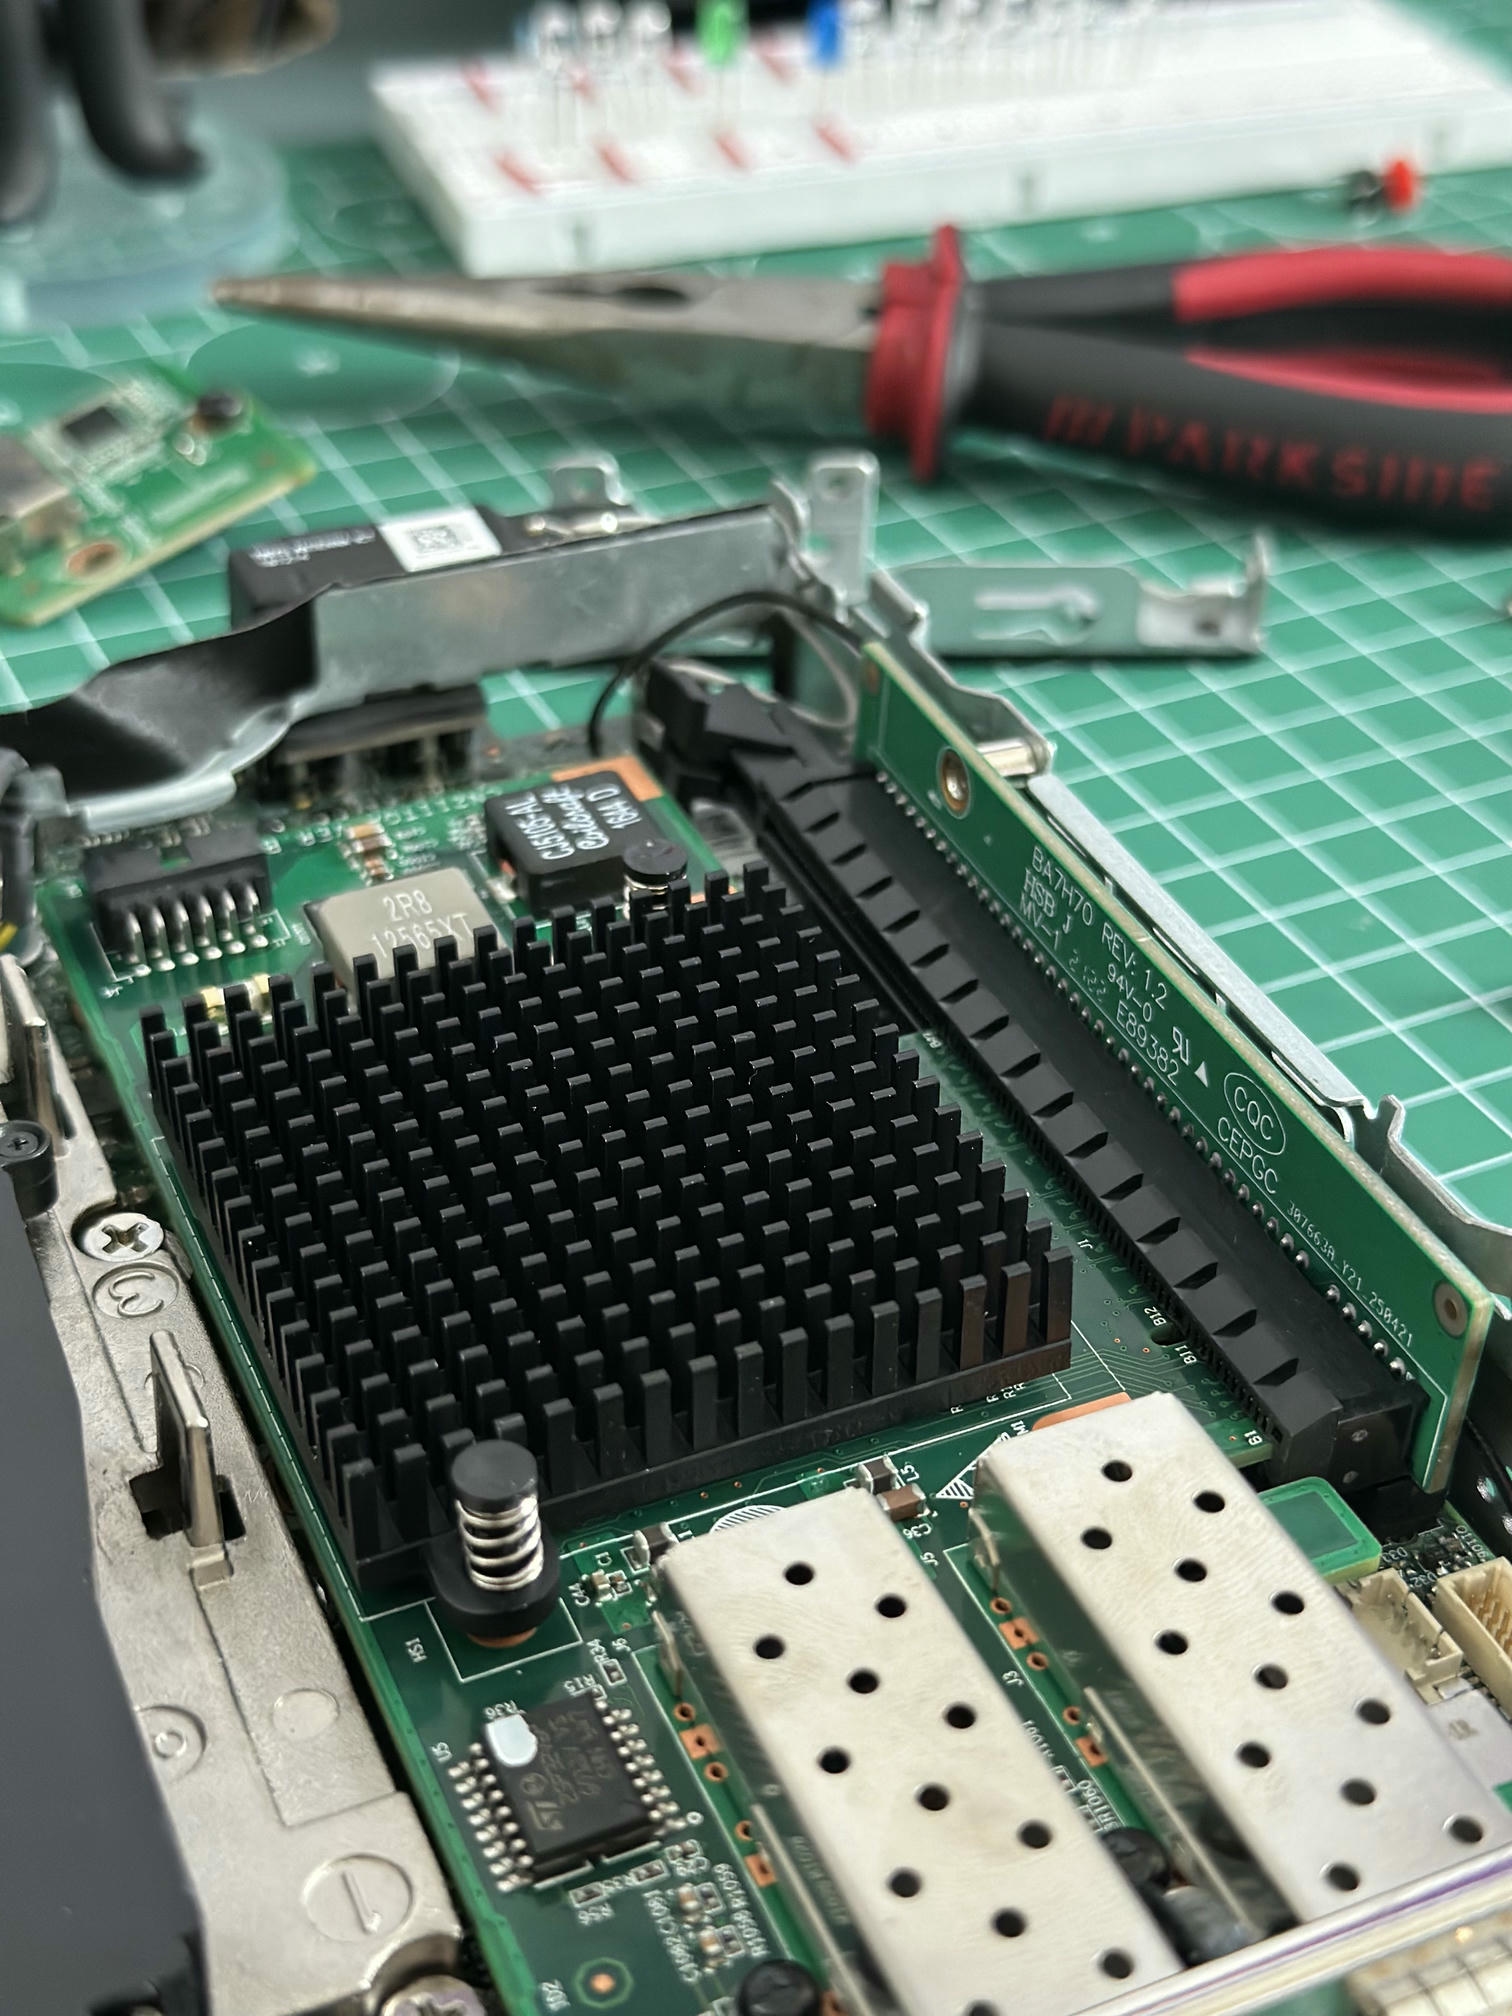
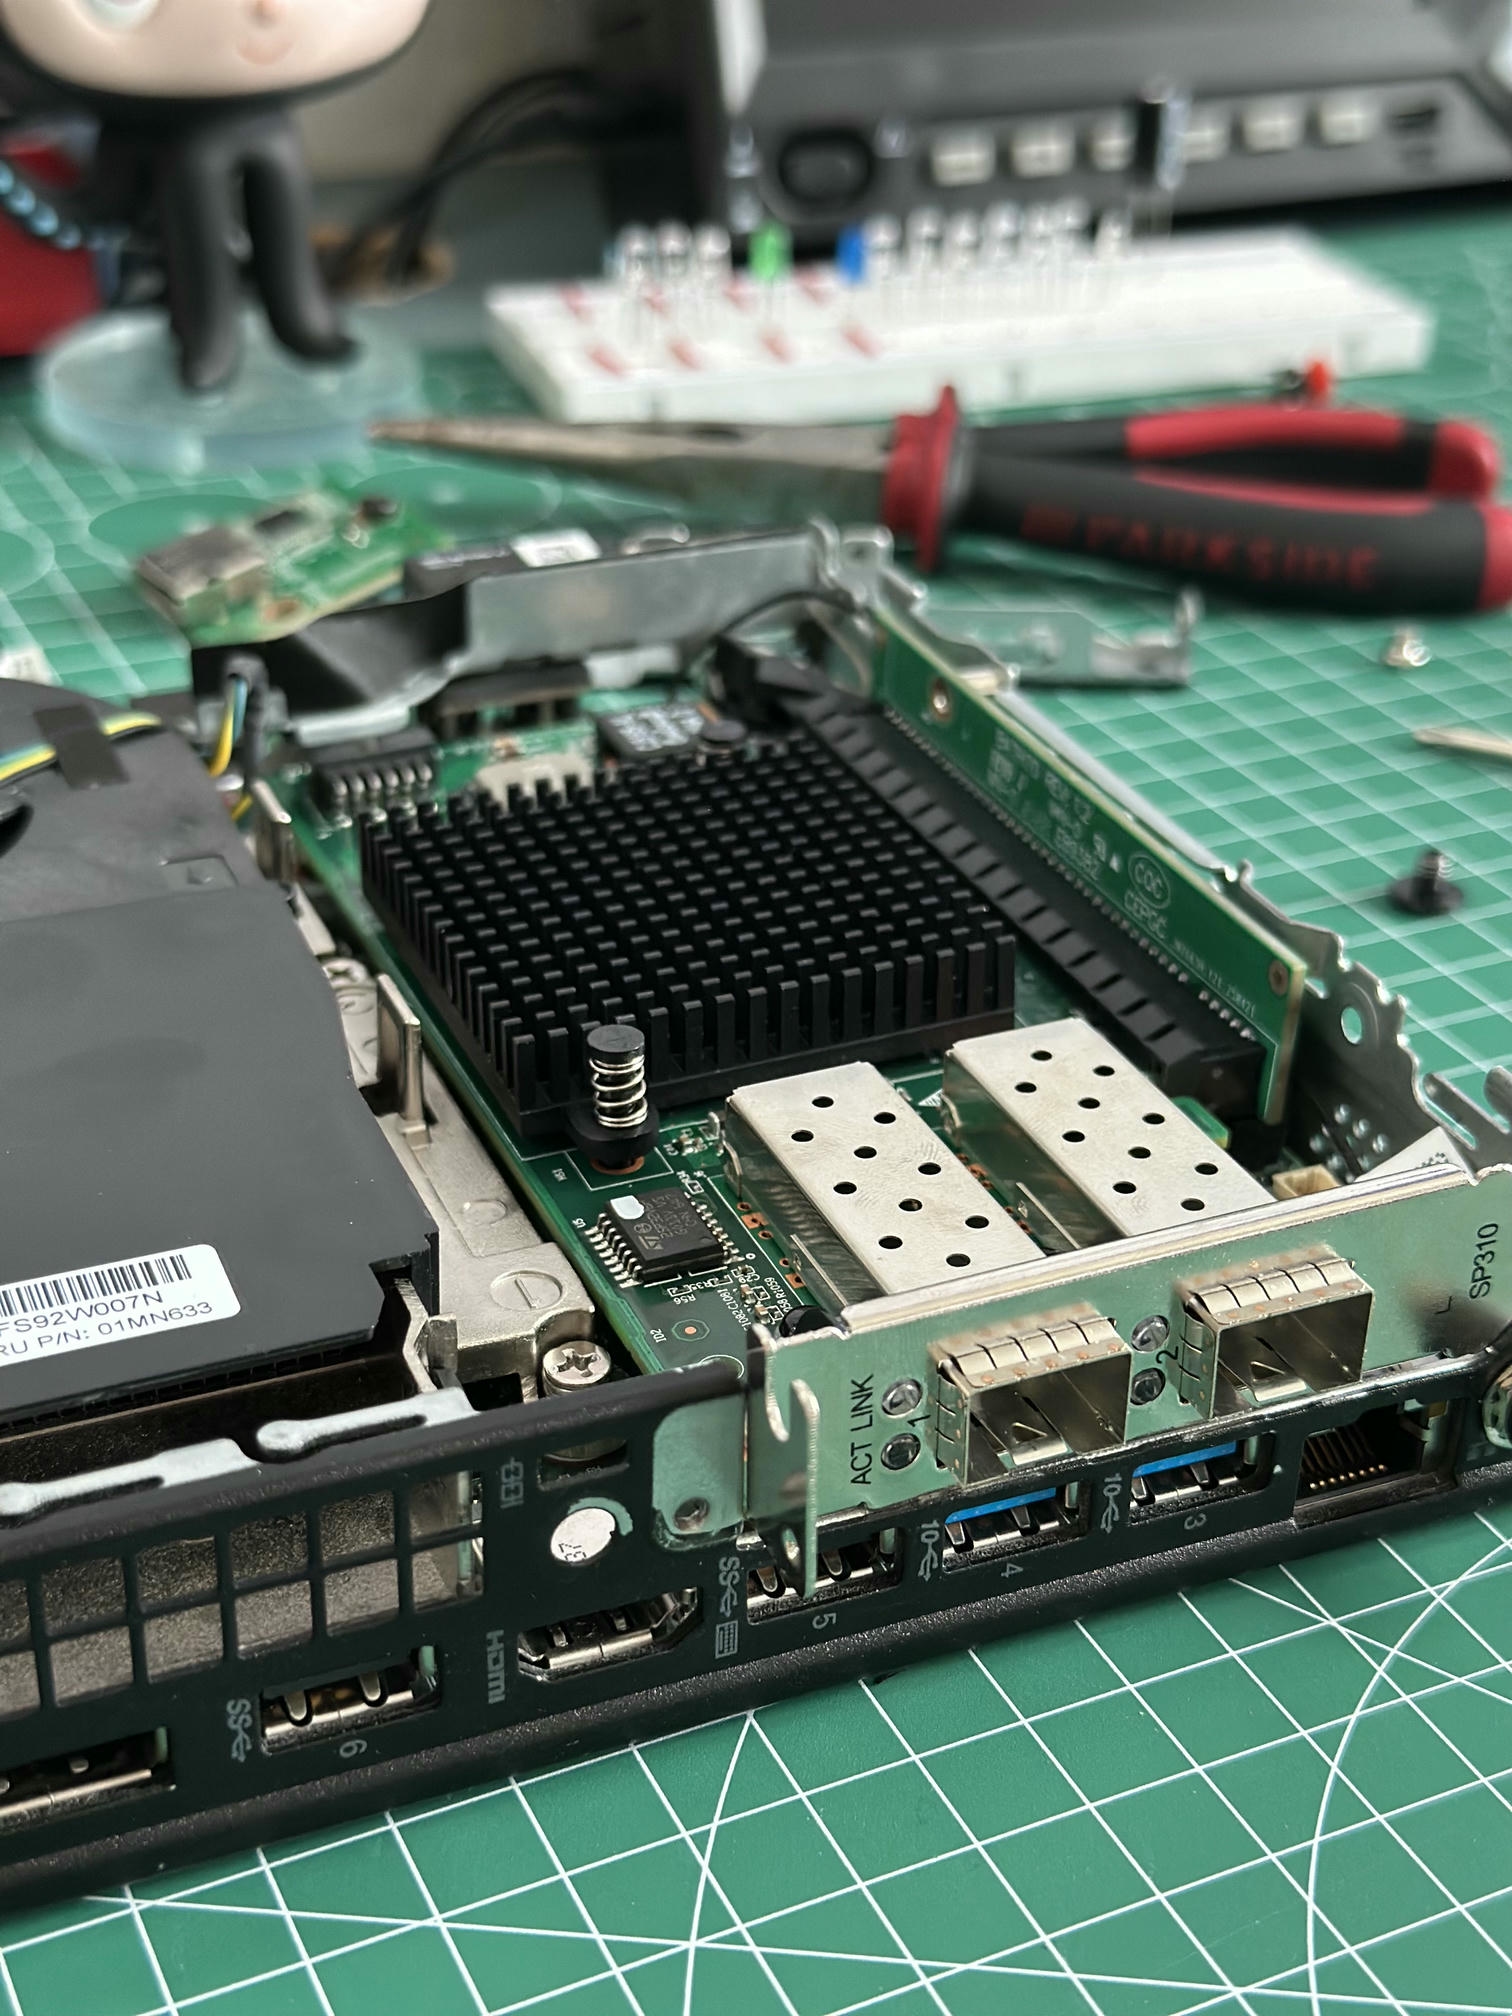
- Has a critical feature: a usable PCIe expansion slot, allowing installation of a server-grade network card.
- The Network Card
(NIC)
- SFP+ model (Intel 82599ES chipset, X520-DA2) for direct fiber or DAC connectivity to your switch.
- PCIe Riser Card
(to connect the NIC to the motherboard)
- Mandatory adapter needed to physically connect the network card to the Lenovo M920q's motherboard.
- MikroTik RouterOS License
- You'll need a Level 4 (P1) RouterOS license to unlock the full speed of your hardware.


For this build, we'll install MikroTik RouterOS v7 directly on bare metal. This avoids virtualization headaches and ensures maximum hardware performance. We'll use a 90W or higher power adapter to ensure the CPU, SSD, and NIC have enough power, even under heavy load.
Switching from the RB3011 to this build is a huge leap forward. The RB3011 would struggle with high connection counts or heavy traffic, but this setup handles those demands easily, making it ideal for a busy K3s cluster. Compared to expensive MikroTik CCRs, this Intel-powered box outperforms many for CPU-intensive tasks like VPNs or complex firewall rules.
We benefit from the flexibility and power of a general-purpose CPU, rather than being limited by a fixed-function router chip. For our services, this router removes the network as a bottleneck. APIs and applications will run at full speed, limited only by the server itself, not by the network path.
Lenovo M920q BIOS
Before we can install RouterOS, we have to configure the BIOS on our Lenovo M920q. To save you time and effort, here are the BIOS settings you should enable or disable.
Generally, disable features you don't use. In this context, two clear candidates
are bluetooth and the wireless card. I went further and removed the wireless
card from the Lenovo M920q, as I won't be using it.
Assuming you've updated the BIOS to the latest version, do the following:
-
Restart the PC and keep pressing the F1 key to enter the BIOS.
-
Go to
Devices > USB Setup > Bluetoothand set it todisabled. If you don't use the front USB ports, you can disable those too, leaving just one rear port enabled for keyboard or external screen setup. -
Go to
Devices > Network Setupand ensure all options exceptWireless LANare enabled. DisableWireless LAN, this router won't connect to your switch via wireless. ThePXEoptions must be enabled to install RouterOS via Netinstall. -
Go to
Powerand setAfter Power LosstoPower On. This is the most critical setting for all Mini PCs, ensuring the hardware automatically powers on after an outage. -
Go to
Startupand make sure theCSMoption isEnabledandBoot Modeis set toAuto.CSMstands forCompatibility Support Moduleand allows loading of non-UEFI operating systems. -
Go to
Startup > Primary Boot Sequenceand change the boot order. Since you'll install RouterOS using Netinstall (via ethernet), moveNetwork 1to the top of thePrimary Boot Sequencelist.
At this point, your BIOS should be fully set up, and we can proceed to the next section: setting up MikroTik's Netinstall. For now, you can turn the PC off.
Install MikroTik RouterOS on Lenovo M920q
From experience, I must emphasize: installing RouterOS via USB stick is not
possible. I tried burning RouterOS to a USB
stick using Rufus, set up the BIOS, and booted into the
USB. Starting the RouterOS installation, I got a no cdrom found error.
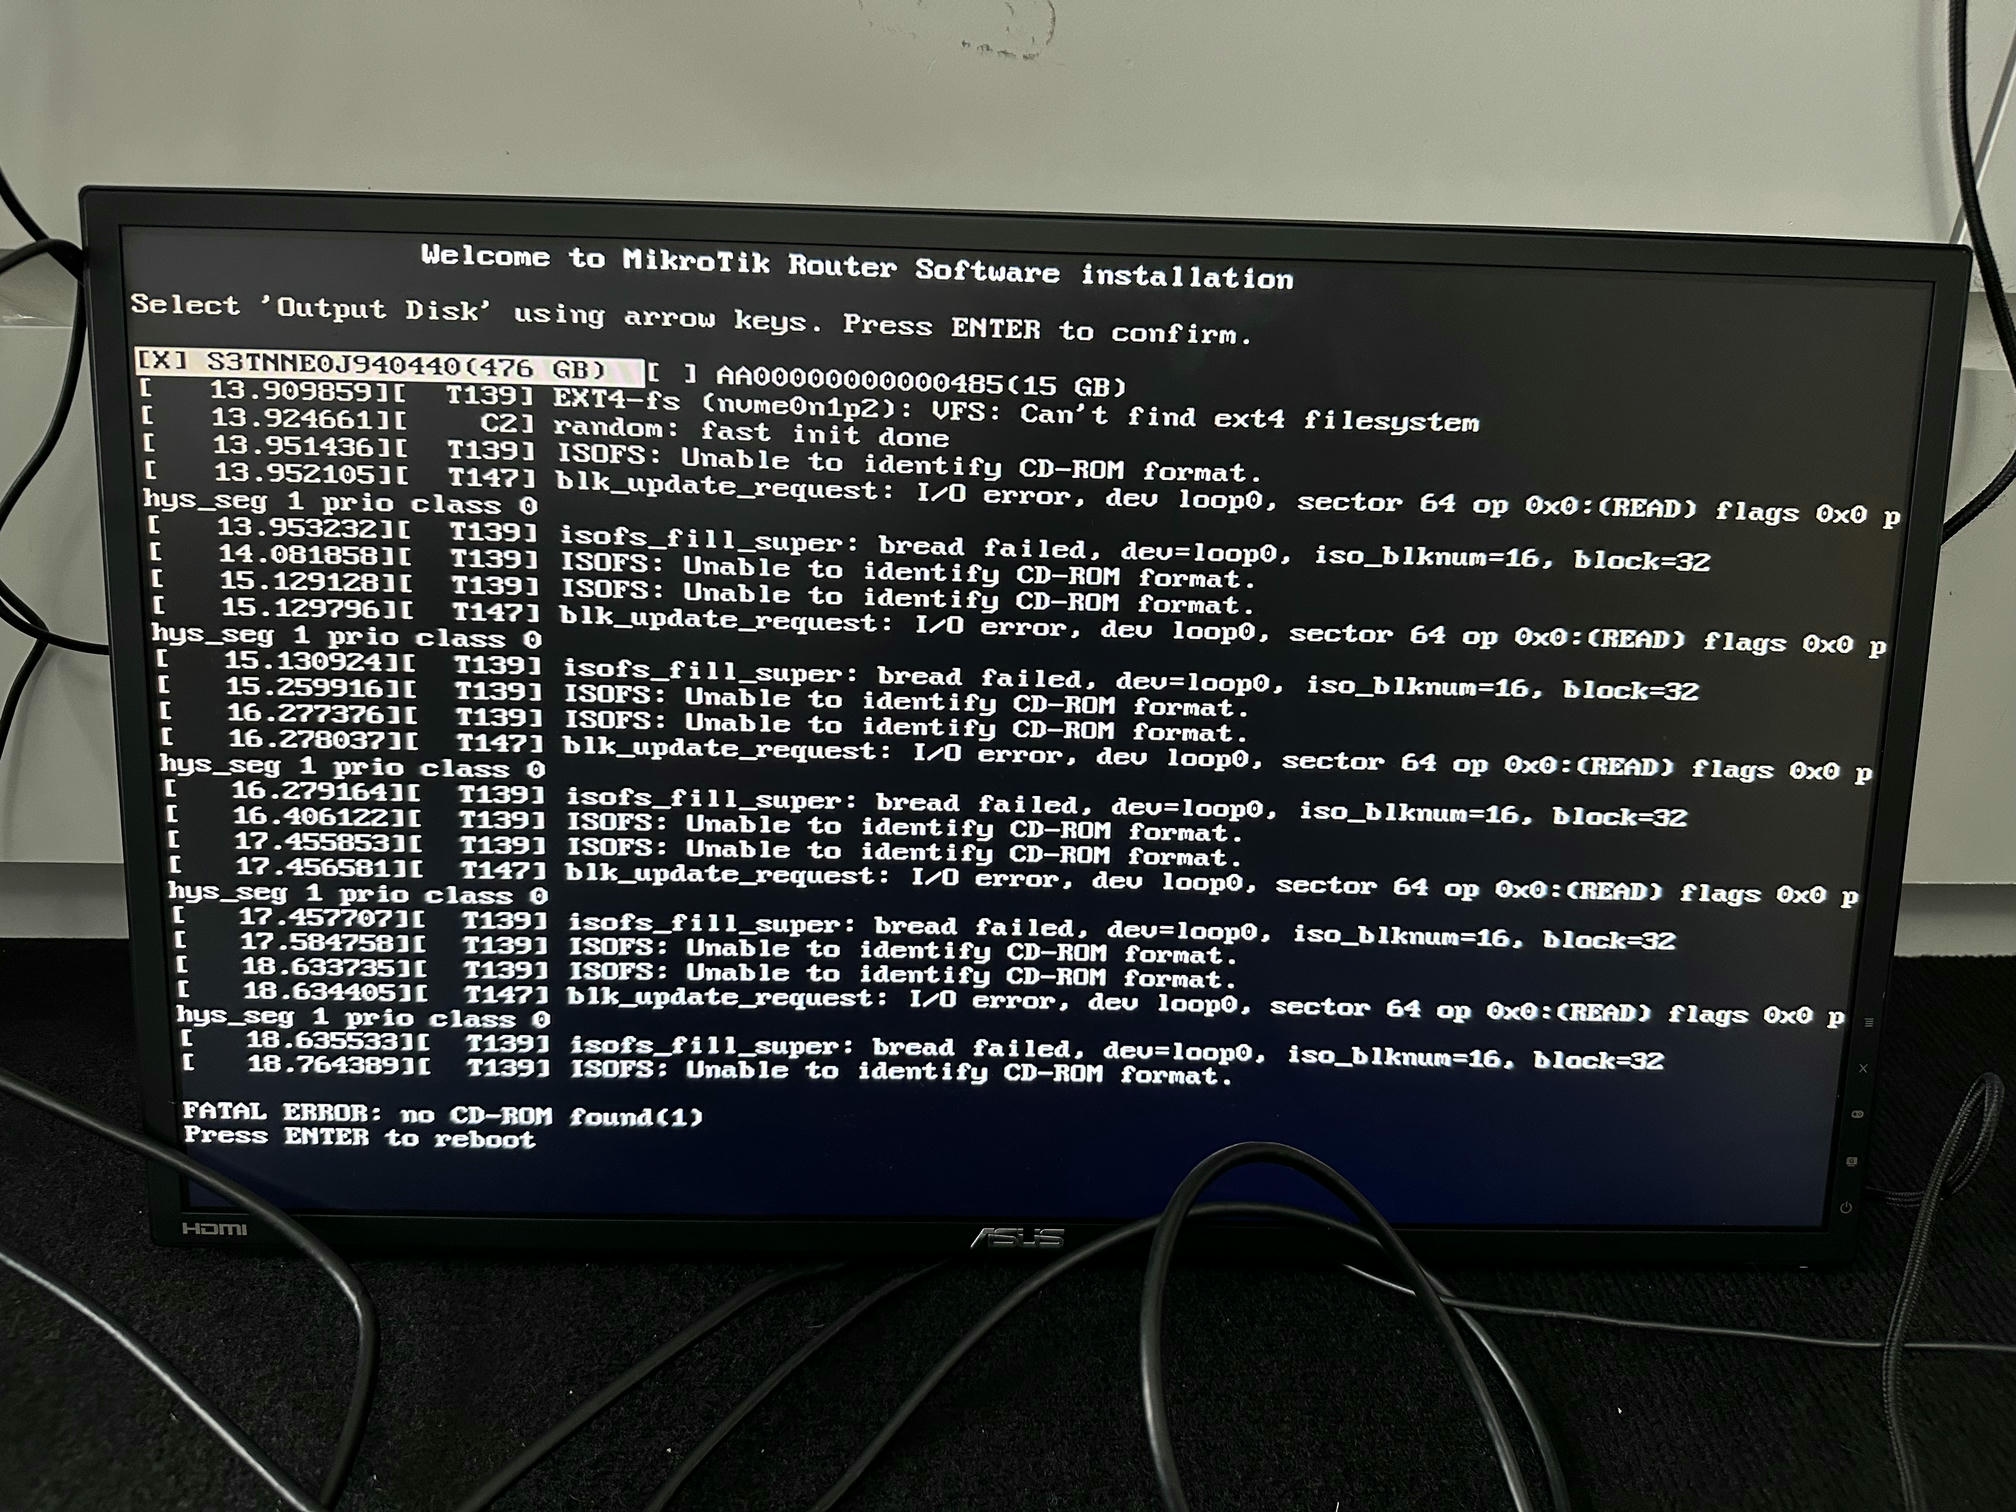
I thought it might be a corrupted ISO or USB stick, so I tried different sticks and Rufus settings, but nothing worked. Eventually, with help from AI and forums, I concluded you must follow MikroTik's Netinstall guide.
In short, install RouterOS over the network. The USB process fails because, once installation starts, RouterOS looks for a CD-ROM instead of recognizing the USB drive.
Rather than duplicating all the content from MikroTik's original guide, simply follow the official Netinstall guide. The installation process takes less than a minute, and the next time you boot, your Lenovo M920q will be ready to route.
Before finalizing the setup, make sure to return to your BIOS setup, go to
Startup > Primary Boot Sequence, and set your SSD or NVMe (depending on your
hardware) back as the primary boot option. If you skip this, your Lenovo will
try to boot from the network every time, causing long delays before it attempts
another boot method.
Your text is clear and mostly well-written. Here’s a proofread version with minor improvements for clarity and flow:
Purchase the MikroTik RouterOS License
If everything has gone well up to this point, you’re ready for the final step: connect to your new router and purchase the license.
Unless you plan to register a mini ISP company and sell internet, just like myself, you’ll want to get a RouterOS Level 4 license. You can compare the licenses at RouterOS license key levels. In short, the main differences between level 4 and higher licenses are features like OVPN, tunnels, EoIP, user management, RADIUS, etc. For most users, these aren’t necessary.
To purchase the license, create a MikroTik account at the MikroTik Account page. Once your account is created, you’ll receive your initial login information via email (be sure to change your password after logging in).
After purchasing the license, you’ll receive an email with the subject
MikroTik RouterOS Licensed Key, which will contain your license in a .key
file. Download the license, log in to your router (e.g., via Winbox), go to
System > License, and click Import Key.... Once you import the key, your
router will prompt you to restart. After restarting, your new level 4 license
will be applied to your device.
Moving the Configuration from an Old MikroTik Router
Until now, I was using an RB3011. I exported its configuration and, with minimal changes, imported it to the new Lenovo M920q router. This saved a lot of time, as I didn’t have to recreate everything from scratch.
If your current (original) router, such as an RB3011 or similar, is still running, follow these steps:
Export the config on the RB3011:
# You can name the file however you like
/export file=rb3011-backup
This will generate a file named rb3011-backup.rsc.
Download this file using Winbox, WebFig, or SCP. You’ll find it under the
Files menu.
Open it in your preferred text editor (e.g., Neovim, VSCode, Emacs).
At this point, you’ll want to adjust the config to match the interfaces on the
Lenovo M920q. In my case, I only needed to search for sfp1 (from the RB3011)
and replace it with ether2. This is because, after installing the
Intel X520-DA2,
MikroTik RouterOS identifies the two SFP+ ports as ether2 and ether3. So,
your router will appear to have three Ethernet ports: ether1, ether2, and
ether3. Functionally, these are still SFP+ ports, only the naming is
different.
Make the absolute minimum changes needed to get the new router up and running. Avoid making lots of adjustments at once, as this can make troubleshooting difficult (e.g., is the Lenovo working? Is the new SFP cable good?).
Once you’ve made the minimal necessary changes, restore the backup onto your Lenovo M920q.
After confirming that the basic setup works, you can proceed with additional changes and experiment as needed.
Keep Your Old Router Around as a Backup
If you’re not in desperate need of money and don’t have to sell your old router,
I recommend keeping it. You can use it to practice MikroTik configurations and
have a backup in case your Lenovo ever stops functioning. Since much of this
setup is about Kubernetes and we’re calling it a mini data center, high
availability (HA) should apply at every level, not just the Kubernetes nodes.
So, stash your old router in a safe place as a backup plan.